Edging & Line Trimming: The Secret to a Professional-Looking Lawn
Master the finishing touches that separate average lawns from magazine-worthy ones. Learn edging techniques, line trimmer tips, and when precision matters most.
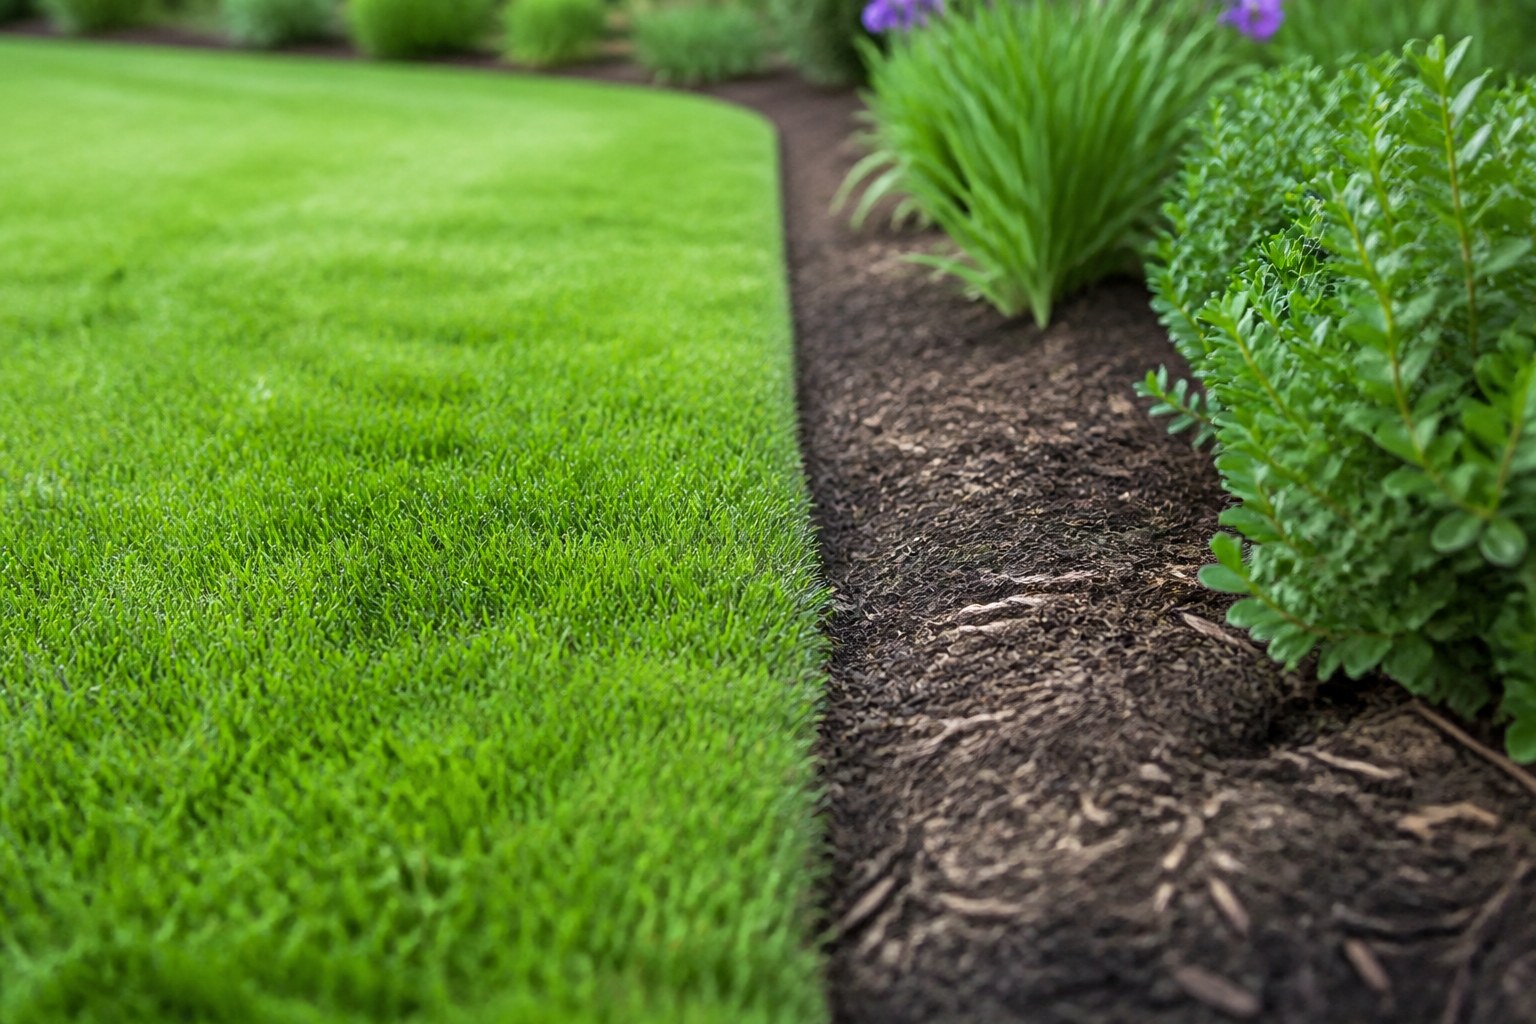
You can mow your lawn perfectly, but without crisp edges and clean lines, it’ll still look unfinished. Edging and line trimming (whipper-snipping) are the details that separate amateur lawn care from professional results.
Here’s how to get those clean, sharp edges that make your property stand out.
Why Edging Matters
Professional-looking edges serve both aesthetic and practical purposes:
- Visual definition - Sharp lines make your lawn look intentional and well-maintained
- Prevent grass creep - Stops lawn from invading garden beds and pathways
- Easier maintenance - Defined edges make future mowing and trimming faster
- Property value - First impressions matter, and edges are one of the first things people notice
Even a slightly overgrown lawn looks dramatically better with clean edges. It’s one of the highest-impact, lowest-effort improvements you can make.
Types of Edging Tools
1. Line Trimmer (Whipper Snipper)
The most common tool for most homeowners. Versatile and relatively affordable.
Best for:
- Trimming along fences and walls
- Getting close to obstacles
- Light edging along paths and garden beds
- Regular maintenance between deeper edging sessions
Limitations:
- Not as precise as dedicated edging tools
- Can throw debris
- Requires practice for clean vertical lines
2. Dedicated Edger
A specialized tool with a vertical blade designed specifically for creating crisp edges.
Best for:
- Creating and maintaining crisp, vertical edges along driveways and paths
- Cutting clean lines along garden bed borders
- Establishing edges for the first time
- Professional-quality finish
Drawback: Additional cost for a tool that does one job (though it does it brilliantly)
3. Manual Edging Tools
Half-moon edgers and spades for those who prefer traditional methods.
Best for:
- Small properties
- Precise control
- Avoiding noise
- Establishing garden bed edges
Limitation: Labor-intensive for large properties
Line Trimming Technique
Getting clean results with a line trimmer takes practice, but these tips help:
The Right Angle
- Hold the trimmer so the line is parallel to the ground for trimming grass
- Tilt it vertically (90 degrees) for edging along hard surfaces
- Keep the guard facing away from plants you want to protect
Feed the Line
- Let the trimmer do the work - don’t force it into thick grass
- Maintain consistent speed and distance
- Feed new line before it gets too short
Direction Matters
- Move from right to left (for most trimmers) so clippings fall onto already-cut areas
- Take multiple passes if needed rather than trying to cut too much at once
- Along garden beds, angle slightly away to avoid damaging plants
Common Mistakes
Scalping the lawn: Holding the trimmer too low and cutting into the soil creates bare patches and encourages weeds.
Going too fast: Rushing leads to uneven cuts and missed spots.
Wrong string: Using thin line on thick grass, or worn-out line that breaks constantly. Replace line regularly and match the diameter to your needs.
Creating Perfect Garden Bed Edges
The edge between lawn and garden beds might be the single most important edge on your property.
Method 1: Spade Cutting
- Mark a clean line (use a hose or rope as a guide)
- Cut vertically with a sharp spade
- Remove a small amount of soil/grass
- Create a shallow “moat” that stops grass spreading
- Maintain every 4-6 weeks during growing season
Method 2: Trimmer Edging
- Use a vertical angle against the garden bed
- Work slowly for consistency
- Follow up with a rake to remove cut grass
- Redefine the edge every few mows
Method 3: Physical Edging
Installing steel, aluminum, or plastic edging creates a permanent barrier. While this requires upfront work, it dramatically reduces ongoing maintenance.
Consider physical edging if:
- You’re tired of constantly redefining the same edges
- Grass keeps invading mulched garden beds
- You want a permanent, low-maintenance solution
Hard Surface Edging (Driveways, Paths, Patios)
These edges are highly visible and deserve extra attention.
Best practice:
- Use a dedicated edger or hold your line trimmer vertically
- Create a clean 90-degree edge
- Remove all cut material (it looks terrible left behind)
- Edge before mowing so grass clippings cover any mess
Frequency:
- Every mow during peak growth (spring/autumn)
- Every 2-3 mows during slower growth (summer/winter)
- Or whenever grass starts creeping onto hard surfaces
Seasonal Edging Schedule
Just like mowing frequency changes with the seasons, so does edging.
Spring: Edge every mow - grass is growing aggressively into garden beds and over edges
Summer: Every second mow unless growth slows right down in heat
Autumn: Every mow - autumn growth spurt needs management
Winter: Minimal edging required, maybe monthly or as needed
The Order Matters
Professional-looking results come from doing jobs in the right sequence:
- Edge first (along hard surfaces and garden beds)
- Mow second (grass clippings cover up edge debris)
- Trim/whipper-snip third (get the spots the mower missed)
- Blow or rake fourth (clean up any remaining clippings from hard surfaces)
Many homeowners do these in the wrong order and wonder why it doesn’t look professional.
When to Call in the Professionals
Edging is physically demanding and requires technique. Consider professional help if:
- You struggle to achieve consistent, clean lines
- Your property has extensive edges that take hours to complete
- You don’t own proper edging equipment
- You want perfect results for an event or when selling
- Physical limitations make it difficult
Professional services include edging as part of their regular mowing visits, and the difference in finish is immediately noticeable.
Equipment Maintenance
Good edges require good equipment:
- Keep line trimmer string fresh - old, brittle line breaks constantly
- Clean trimmer heads regularly - built-up grass and debris cause jams
- Sharpen edger blades - dull blades crush grass instead of cutting it
- Replace worn parts - don’t battle failing equipment
Final Thoughts
Edging transforms a decent lawn into an impressive one. While it adds time to your lawn care routine, the visual impact far outweighs the effort.
Start with the most visible edges - front garden beds, driveway, main paths - and expand from there. Even if you can’t edge everything every time, maintaining the high-visibility areas makes a huge difference.
Remember: clean edges hide a multitude of other lawn sins. A slightly patchy lawn with perfect edges looks better than a perfect lawn with messy edges.
Take your time, maintain consistent technique, and your property will start looking like the professionals handle it - even if you’re doing it yourself.
Need a Hand?
Professional lawn mowing, edging, and regular lawn care services. Get a quote from our trusted Peninsula partners.
Contact Mowing Magic →Disclosure: We share links to related local services that serve our readers in the Peninsula area.